Thursday, 24 December 2015

How To: Christmas Tree Profiteroles

Hi Nibblers!

     I love the Christmas season. It's my favourite time of year but it goes by in a blink of an eye. It's always buzzing and Christmas movies are always so heart warming. It eases all the stresses of everyday life even if it's just for a moment. I do have to admit, Sydney's Christmas are a tad too hot for my liking but it does mean I'm able to enjoy lovely potato salads and seafood all day. It also means being able to enjoy those cold desserts and not suffering from frost bitten fingers afterwards!
      The inspiration for this recipe stemmed from my love for profiteroles and Christmas! Back before I was into baking my own sweet treats, Kevin used to rush off to the local supermarket and buy me a box of custard filled profiteroles. It was always one of the best surprises back in high school. To this day, I still have such fond memories of those occasions so I decided to honour that memory with a recipe.

How To: Christmas Tree Profiteroles
Makes approx. 40 medium sized profiteroles

What you'll need:
For choux pastry
- 250mL water
- 100g unsalted butter (diced)
- 1 pinch of salt
- 125g all purpose flour
- 4 eggs
For filling / decorating
- 600mL thickened cream - setting aside 1/2 cup for ganache
- 4 Tbs. sugar
- 1/2 cup white chocolate chip buttons
- 1/2 tsp. Pandan paste OR 2 drops green food colouring (for colour purposes)
- Sprinkles to decorate (whatever you fancy)

How To:
The Choux Pastry
1. Pre-heat oven to 210 degrees Celcius or 410 degrees Farenheit
2. Place cold water and unsalted butter into a saucepan and mix until a gentle simmer
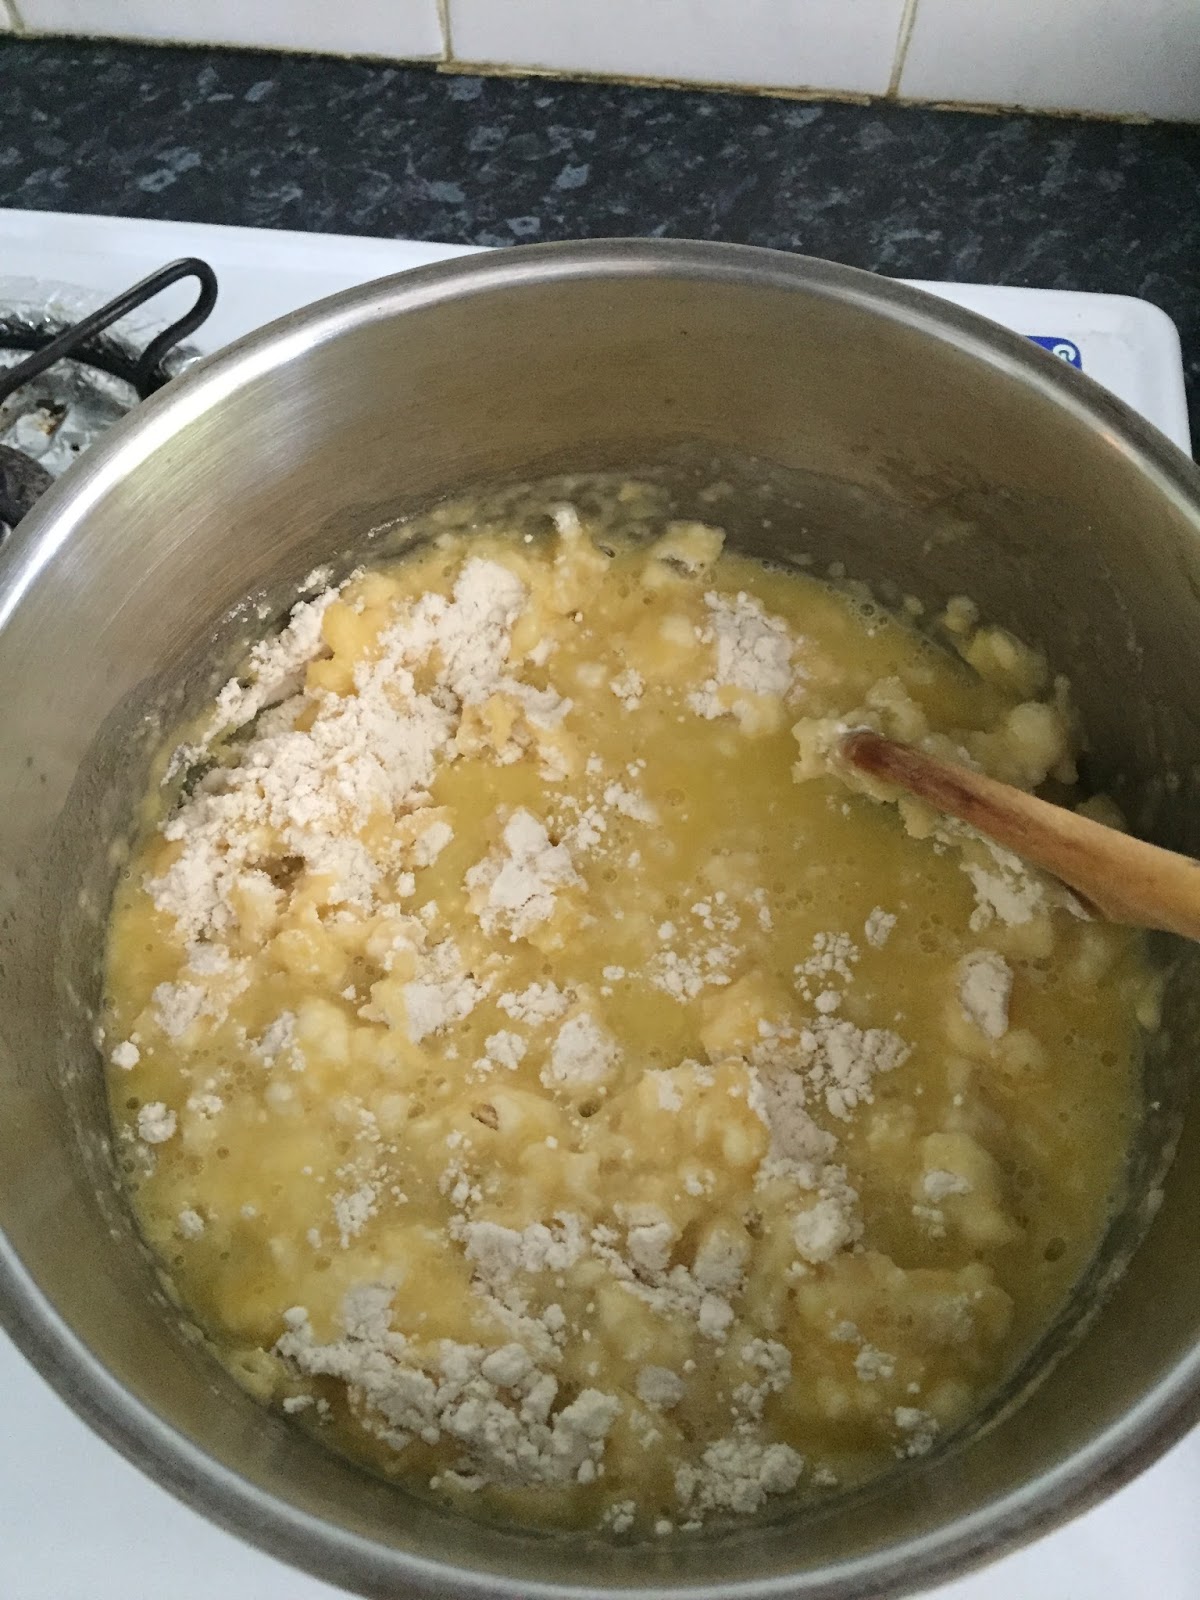
2. Add salt and flour and beat until it forms a paste / smooth dough that comes away from the sides of the pan
3. Remove pan from heat and beat egg one at a time and mix well - this takes a bit of arm power and patience - don't add all eggs at once
4. Pop choux pastry into a piping bag and squeeze into equal rounds on a baking sheet tray - approximately 3cm in diameter
5. Use a damp finger to push down on any spikes to ensure those spikes don't burn on the oven
6. Pop choux pastry in the oven for at least 15 minutes or until puffed and golden then set aside on cooling rack to cool
The Filling
1. While profiteroles are cooling, whip thickened cream with sugar until stiff peaks form then set aside in fridge until needed
The Coating

1. Place 1/2 cup of thickened cream and white chocolate buttons into a microwave save bowl and microwave at 1 minute intervals (stirring in between) until ganache forms a smooth velvety past - Takes about 3 minutes

2. Add pandan paste or food colouring to ganache and mix until well incorporated then set aside until needed
Assemble!
1. Poke a hole in each of the profiteroles bottoms and pipe whipped cream into the centre - stopping when you feel some resistance
2. Dip the filled profiteroles into ganache then set aside to set

3. Once all profiteroles are filled, assemble a circular base for the tree and work upwards to form a christmas tree and voila! Christmas centre piece made easy - I added my own self-drawn star to add height but you can do whatever you please.
4. Add some sprinkles and you're set!


        I hope you all have a Merry Christmas! I do have to apologise from the lack of posts this Christmas but the truth is, it hasn't been the best end to the year. A few things have come up that I have no control over which has taken all my free time that I would otherwise dedicate to this blog. But, enough of the pity party - Christmas is still exciting and if you Nibblers do try out this recipe, let me know how it goes in the comment below!


Nibble Away,
           Jo

Sunday, 6 December 2015

How To: Lindt Lindor Peppermint Stuffed Red Velvet Cookies

Hi Nibblers!

        It's December! When I hear people say how quickly the year goes by, I didn't feel it much. But ever since leaving uni and working full-time, the year goes by at lightning speed. The festive season is definitely more stressful in adulthood because I can't seem to find a time where shops are open when I'm off work. Luckily, I had a few hours on hand and headed to the shops to window shop for present ideas. I stumbled upon 'Lindt Lindor Peppermint - Christmas Edition' truffles. I had been wanting to do a mint related recipe for a while but couldn't find the oomph I was looking for until now. I quickly popped back home and started baking. Keep reading ahead to find out how!

How To: Lindt Lindor Peppermint Stuffed Red Velvet Cookies
Makes: Approximately 20 cookies 


What you'll need:
- 250g unsalted butter (softened to room temperature)
- 400g plain flour - all purpose
- 4 tsp. vanilla essence
- 40g cocoa
- 2 tsp. baking soda
- 2 Tbs. milk
- 2 eggs
- 2 tsp. red food colouring
- 180g brown sugar
- 1/2 cup white chocolate chips
- 250g of Lindt Lindor Peppermint
Optional: For decoration
- Handful green sprinkles
- 3 large candy canes - roughly chopped

How To:
1. Beat butter until smooth and creamy
2. Add white and brown sugar and beat until well incorporated
3. Add vanilla, eggs, milk and red food colouring
4. Mix in baking soda, flour and cocoa
5. Add choc chips and stir until mixed
6. Pop cookie dough into the fridge for at least an 1/2 hour
        Note:  This step is essential if you want soft,  pillowy, risen cookies. It allows the cookie dough more pliable and less sticky

7. Pre-heat oven to 180 degrees Celcius or 350 degrees Farenheit
8. Remove all Lindt Lindor Peppermints from their wrappers then set aside
9. Roll a heaped Tbs. of cookie dough into a ball before flattening it out in the palm of your hand to form a pancake shape then place Lindor in the centre dough before covering the whole Lindor truffle with cookie batter
10. Place onto lined baking tray about 5cm apart from one another
11. Pop into the oven for 11-12 minutes
11. Take cookies out of the oven then lightly press down on each cookie 
12. Decorate cookies with sprinkles and crushed candy canes 
13. Allow cookies to cool on baking tray for 5 minutes before transferring to cooling rack then devour!
        Note:  Store cookies in an airtight container for up to 7 days. Cookie dough and cookies can be frozen for up to 2 months and thawed (for eating) or baked frozen (but need an extra 2 minutes in the oven)


          This recipe is definitely for those choc mint lovers out there. The cookies are crunchy on the inside and chewy soft in the centre. The crushed candy canes are a surprise crunch which I really like. These are so easy to make and taste great even without the Lindor centres. Leave a comment below if you give this a try :)


Nibble Away,
         
               Jo

Monday, 30 November 2015

How To: Cookies and Cream Kit Kat Cupcakes

Hi Nibblers!

         I was scanning the aisles of my local supermarket one evening when I stumbled cross 'Cookies and Cream' flavoured Kit Kats. It's always in these moments that recipes come knocking on my door and there's just a vision before me. Luckily enough, I had an occasion to bake for. Sometimes, I want to try things out but there's just not enough friends close by with whom I can give my baked goods to.
         A few weeks ago, I entered the next chapter of my career. For the past eight months, I was on a stepping stone. I learnt valuable skills and was able to figure myself out. I also  made friends with the most wonderful group of people whom supported my baking dreams. They encouraged me to experiment and continue with what I enjoyed. After a few weeks of brainstorming ideas I decided to make my 'Cookies and Cream Kit Kat Cupcakes' come to life as my farewell gift to my friends. I do have to apologise in advanced for the poor photo quality. I had to take pictures at night and my night photography is horrendous. But, I can only go on up from here so bear with me. :)

How To: Cookies and Cream Kit Kat Cupcakes
Makes: 12 cupcakes                                                                                         Duration: approx. 1 hr


What you'll need:
Cupcake Component
- 180g or 1 cup self raising flour
- 50g unsalted butter (softened to room temperature)
- 150g or 3/4 cup sugar
- 2 tsp. Vanilla essence
- 80g or 1/2 cup cocoa powder
- 2 eggs
- 250mL milk
- 3/4 of a (170g back) Cookies & Cream Kit Kat strips (roughly crushed)
- 12 medium sized chocolate choc chip cookies
Vanilla Buttercream
- 250g unsalted butter (softened to room temperature)
- 100g icing sugar
- 1 tsp vanilla essence
- 2 Tbs milk
- 3 Cookies &


Cream Kit Kat strips quartered / remaining strips (optional - for toppers)
- 3 tsp. baking flour

How To:
1. Pre-heat oven to 180 degrees Celcius
2. Line cupcake tin with paper liners or lightly spray tin
3. Place one chocolate choc chip cookie top faced down onto tin into each liner
4. Beat butter and sugar until light and fluffy
5. Add eggs and vanilla essence 
6. In a separate bowl mix self raising flour, cocoa and baking flour 
7. Combine half of the dry ingredients and half of the milk to the wet ingredients then mix until well incorporated 
8. Add second half of dry ingredients and milk to bowl 
9. Place about 3/4 of the crushed Cookies & Cream Kit Kats to mixture and mix until evenly distributed
10. Fill cupcake liners until about half way full
11. Sprinkle remaining Cookies & Cream Kit Kats crumbs onto each cupcake top
12. Pop cupcakes into the oven for 16-18 minutes (ensure skewer comes out clean after cooking time) then set aside to cool
Vanilla Buttercream:
1. Beat butter on high until it turns from a yellow colour to off white tone (takes at least 5 minutes)
2. Add icing sugar and beat until well combined
3. Add vanilla essence and milk and beat for at least another 3 minutes on high
            Note: for a thicker buttercream add a Tbs of icing sugar until desired texture
           For a softer buttercream, add a Tbs of milk until desired texture

Let's Decorate!
Once cupcakes have cooled completely, I used a closed star tip and followed the edges of the cupcake before coming into the centre. I then placed a Kit Kat block on top to finish the look!
Decorating is always the fun bit so let your creative juices flow and do whatever please you. 

I hope you Nibblers enjoyed this recipe! I've been brainstorming ideas for the Christmas season so watch this space in the coming weeks. 


Until then,
Nibble away,


                 Jo

Thursday, 19 November 2015

How To: Chocolate Banoffee Cake

Hi Nibblers!

    Inspiration for recipes come from all kinds of places. This one came as I was strolling through Coles and stumbled across Chocolate Banana Tim Tams.  I was sold! I was thinking of all sorts of chocolate and banana cupcake ideas until Mum asked me to whip up a cake for my Aunty's 60th birthday. My Aunty had come over from France to visit so it had to be a memorable cake. My Aunty is all about coffee so I decided to incorporate it into the cake and encase the cake in coffee buttercream. I love how this cake turned. Moist on the inside and the perfect balance between the chocolate, banana and coffee flavours. The crushed Tim Tams added a crunch creating more texture combinations with every bite. So if you want to know how to make this cake, keep reading!

How To: Chocolate Banoffee Cake
Makes a 3 tier 20cm round cake or 12 standard servings                                     Takes approx. 4-5 hours including cooling time


What you'll need:
Sponge Component:
- 700g riped bananas (roughly mashed) - about 6 small sized bananas
- 80g or 1/2 cup cocoa
- 130g or 1/2 heaped cup brown sugar
- 4 eggs
- 1 1/2 tsp. vanilla extract
- 100g softened butter (room temperature)
- 4 tsp. baking powder
- 200g self raising flour
- 160g all purpose flour
- 50mL milk
- 4 roughly crushed Chocolate and Banana Tim Tams biscuits
Coffee Buttercream:
- 1kg of softened butter (room temperature)
- 450g icing sugar
- 2 tsp. vanilla extract
- 5 tsp. instant coffee mixed with 1 Tbs. water
Chocolate Ganache:
- 1/4 cup dark chocolate buttons
- 1/4 full thickened cream
Decorations: *Optional
- 5 Chocolate and Banana Tim Tam Biscuits roughly chopped into different sizes

How To:
Sponge Component:
1. Pre-heat oven to fan forced 160 degrees Celcius or 320 degrees Farenheit
2. Line 3 x 20cm round cake tins with baking paper or lightly spray to prevent cake sponge from sticking to edges
3. Evenly sprinkle crushed Tim Tams into 2 cake tins leaving one tin bare (that will be out top layer of the cake)
4. Beat softened butter and sugar together until light and fluffy (about 2 minutes)
5. Add eggs one at a time and beat until well combined
6. Combine self-raising flour, baking powder, cocoa and all purpose flour together then add half the contents to bowl
7. Combine mashed bananas, milk and vanilla extract together then add half of the contents to mixing bowl and beat until well combined
8. Add the reaming halves of the dry and wet ingredients and beat for a further 3-4 minutes until well incorporated
8. Pop cake tins into the oven for approximately 30 - 35 minutes. Swap the cake half way through to ensure all layers are cooked evenly. Once time is out, check with a skewer ensuring it comes out clean then pop aside until completely cool
        Note: If you wanted to save time, pop cakes into the freezer for an hour before doing anything further. It will help to level the cake later on as well!
Coffee Buttercream:
1. Beat softened butter until it turns into an off-white colour from the bright yellow tinge (Takes at least 5 minutes on high)
2. Add vanilla extract then beat until well combined
3. Add icing sugar and beat until well combined (at least 3 minutes on high)
4. Add coffee mixture to mixture and beat on high until well combined (at least 3 minutes on high) then set aside until needed
      Note: If you like a thicker buttercream, simply add a Tbs. of icing sugar each time until desired texture.
                 For a thinner buttercream, add a Tbs. of milk to the buttercream
Chocolate Ganache:
About 15 minutes before assembling your cake, make the chocolate ganache either over a double boiler or in a microwave.
I used the microwave method and here's how I did it
1. Place chocolate buttons (or crushed dark chocolate) with cream in a microwave safe bowl
2. Microwave chocolate/ cream mixture for 45 seconds
3. Take mixture out and stir as much as you can. If the mixture is still not smooth and silky, place in microwave for 20 second intervals until ganache is silky smooth with no lumps.
4. Set aside until needed - Ganache will thicken as it cools to room temperature

It's time to assemble!
1. Take cake sponges and level off each layer until all are as close to one another as possible. Pop the leftover cake to nibble on with your coffee - don't chuck it out OR make some cake pops
2. Spread an even layer of buttercream onto base layer of cake then place second layer directly on top then repeat process until you get to the top layer
3. Apply a thin crumb coat layer around the whole cake then place cake in freezer or fridge for 10 minutes
        Note: to avoid dirtying your cake board/ plate, place strips of baking paper around the bottom edges of the cake to prevent from spills
4. Generously apply another layer of buttercream around the whole cake until smooth
        Note: Don't be afraid to pop the cake back into the freezer for 10 minutes at any time. It'll help you smooth out any imperfections you want to fix
Crumb Coat
5. Using a tablespoon, gently pour ganache along the edge to create the tear drop effect. Add more ganache and slightly push against the ganache if you want a thicker drop then simply fill in the middle with ganache
6. Decorate the outside of your cake as desired - I chose to place a ring of crushed Tim Tams on the baking paper ring around the bottom of the cake and used the baking paper to firmly press the crumbs to line the cake. Remove baking paper ring once done
I also sprinkled some across the top of the cake with larger chopped pieces
I also added dried banana chips and meringue (things I had lying around in my pantry) to the top to add some colour and dimension
Voila! Cake is ready to go!


          My Aunty and family enjoyed this cake throughly. I received really positive reviews in terms of visual and taste aspects which I'm extremely pleased about. Even Richard who is not a fan of sweets said I did a decent job! It can be quite a rich cake so play around with sugar levels and decorative pieces to counter that. If you do give this cake a go or even make a cupcake version do make sure to leave a comment down below. Until then,

Nibble Away,

            Jo

Tuesday, 10 November 2015

How To: S'mores Peanut Butter Cookie Cups

Hi Nibblers!

      S'mores has become the new craze around town lately. S'mores dips, biscuits and cakes - you name it. So, I decided to join the band wagon except, with my own crazy take on it. I had a big craving for chocolate chip cookies at the time and peanut butter which inspired this concoction. I loved the end result. Crunchy bottom and gooey top. It was lovely warm and cooled. Read ahead if you want to know how to.

How To: S'mores Peanut Butter Cookie Cups
Makes approximately 20 cookie cups                                              Takes about 1.5 hrs including cooling time


What you'll need:
Cookie cups:
- 250g unsalted butter (melted)
- 1 cup or 220g brown sugar
- 2 eggs
- 2 tsp. vanilla essence
- 2 cups or 360g self-raising flour
- 1 1/2 cup plain flour
- 2 tsp. baking powder
- 2 cups or 180g choc chips 
Peanut Butter filling:
- 5 Tbs. heaped peanut butter
- 3 Tbs. milk
Marshmallow tops:
- Approximately 100g Marshmallows - halved

How To:
1. Pre-heat oven to 160 degrees Celcius and 320 degrees Farenheit
2. Lightly spray two 12 piece muffin tins
3. Beat sugar, melted butter, eggs and vanilla essence until well combined
4. Sift together self raising flour, flour and baking powder into wet ingredients until incorporated
5. Stir in chocolate bits
6. Roll out approximately 2 heaped Tbs. of cookie dough into muffin hole and firmly press down in the centre and along the edges until it fills up evenly around the muffin (approximately 0.5mm around the edges)
7. Pop cookie cups into the oven for 12 minutes 
8. While waiting for cookie cups to half cook, get peanut sauce ready by popping peanut butter and milk into the microwave for approximately 1 minute and stir until well combined before setting aside
9. After the 12 minutes, take cookie cups out of the oven and lightly press along the edges to open up the cookie cup depths
10. Evenly spoon approximately 1 tsp. of the peanut butter mixture into each cookie cup then pop three marshmallows to fill the top of the cookie cups
11. Pop cookie cups back into the oven for another 20 minutes then switch setting to grill and let cookie cups grill for a further 10 minutes before taking them out of the oven
12. Leave it to cool for 5 minutes in the muffin tray before leaving to cool on a rack before consuming!


        So happy with this crazy combination! If you Nibblers ever give this recipe a try, do leave a comment down below telling me how it goes. They can make days in advanced and last a week at room temperature and two weeks refrigerated so definitely a sweet treat for the week. I hope you're all having a lovely week!

Nibble Away,
               Jo

Saturday, 31 October 2015

How To: Pandan Swirl Lamingtons (Rubgy World Cup Special)

Hi Nibblers!

    Today I'm celebrating two loves of my life. Baking and Rugby. There's less than 12 hours until the Rugby World Cup. I'm screaming with excitement just thinking about it. It'll be the first time ever that Australia (Wallabies) and New Zealand (All Blacks) have versed each other in a World Cup Final.
     My love for Rugby Union has been steadily growing over the past 10 years. It was Richard who got me hooked. I put it down to wanting to fit in with Richard that made me stay but I've realised that the love is real. For the past month, Richard has been away in Europe. I still woke up at 3am, 2am etc. for the team even when I knew I had work the next day. There were some close games but The Wallabies powered through. So this recipe is dedicated to the boys in green and gold. An Aussie classic with a twist. Hope you enjoy!

How To: Pandan Swirl Lamingtons 
Makes approx. 35 lamingtons                                    Takes: 2 hours including cooling time


What you'll need:
Pandan / Vanilla Swirl component:
- 100g or 1/2 cup sugar
- 100g melted unsalted butter
- 1 1/2 tsp. baking powder
- 200g or 1 1/2 cup all purpose flour
- 2 tsp. pandan aromatherapy
- 1 tsp. vanilla essence
Chocolate Icing component:
- 65g or 1/2 cup cocoa
- 75g unsalted butter
- 200g icing sugar
- 250mL of milk
- 200g desiccated coconut

How To:
Green and Gold!
For Pandan Swirl Lamingtons
1. Pre-heat oven to 180 degrees Celcius or 350 degrees Farenheit
2. Lightly spray a 20cm x 30cm tin then set aside
3. Beat eggs, sugar, vanilla essence and butter until well combined (for at least 3 minutes)
4. Fold in 1/2 baking powder and flour into the above mixture until well incorporated
5. Repeat step 4 until all flour is mixed in
6. Divide batter into two equal portions then set one bowl aside
7. Add pandan flavouring to one bowl and mix for approximately a minute
8. Alternatively spoon roughly even amounts of each colour batter into the tin going around the edges first before coming into the centre of the tin
9. Using a skewer or back of a spoon, swirl mixture in tin to create a marble effect
10. Pop into the oven and bake for approx. 20 minutes (checking at the end to see if skewer comes out clear)
Pandan Swirl
11. Leave in tin to cool for about 5 minutes before popping onto cooling rack and then place into the freezer for 15 minutes to cool (or leave to cool at room temperature for an hour)
For Chocolate Icing
1. In a saucepan, melt butter and then add milk until well combined
2. Slowly add sugar and cocoa and whisk until no visible lumps appear then set aside
Assemble
1. Cut Pandan Swirl sponge into equal bite size squares (about 4x5cm)
2. Dip Pandan Swirl squares into chocolate icing then let drip dry before transferring to bowl of desiccated coconut
3. Leave to set and dry for about 5 minutes before consuming!

       Hope you all loved the twist on this Aussie classic! Even if you aren't a Rugby Union fan, this recipe is still going to win you some brownie points. Leave a comment below if you give these beauties a try! They're so simple and still so perfect just like the Wallabies team ;)

   Thinking of you and wishing you all the best!


   GO THE WALLABIES!

Nibble Away,

           Jo


Sunday, 25 October 2015

How To: Chocolate Orange Oreo Cupcakes

Hi Nibblers!

        I was flipping through the supermarket catalogues looking for a bargain when I stumbled across Oreo Orange Scream biscuits - a Halloween special. Recipe ideas came rushing through me and I thought I would do what I do best, cupcakes. These cupcakes turned out amazing. It had the perfect balance between chocolate and orange flavours at the base then paired with an Oreo orange buttercream gave the cherry on top. I love the look of these cupcakes and so happy with how they turned out. They tasted exactly how I had planned. It's a shame the Oreo Orange Scream are only around during Halloween (as far as I know) because these cupcakes would work all year around for those citrus lovers. Definitely a recipe to impress. So, if you're interested, keep reading on!


How To: Chocolate Orange Oreo Cupcakes
Yields approximately 12-16 cupcakes                       Takes approx. 1 hour including cooling process


What you'll need:
For cupcake base:
- 1 cup or 180g self-raising flour 
- 2 tsp. of baking powder
- 1/2 cup or 80g of cocoa powder
- 50g butter (softened to room temperature)
- 3/4 cup or 150g of sugar
- 2 eggs
- 50ml of milk
- 3/4 tsp. Vanilla Essence

- 1 large orange - blitzed (skinned and pitted - try to remove as much of the white skin as possible otherwise your cupcakes may taste bitter) - keep 1/4 cup of orange juices aside for buttercream
- 1 Tbs. orange zest (finely chopped)
For Orange Oreo Buttercream:

- 250g unsalted butter softened
- 3 Tbs. of icing sugar
- 1 tsp. vanilla essence
- 150g roughly crushed Oreo Orange Scream Biscuits - plus an extra 80g for cupcake toppers (optional)
- 1/4 cup of orange juice (set aside earlier on)
- 1 tsp. orange zest (finely chopped)
- 2 drops of orange food colouring or 2 drops of red and yellow food colouring each to form orange

How To:
Bake me!
Cupcake Component:
1. Pre-heat oven to 180 degrees Celcius or 350 degrees Fahrenheit
2. Line tin with cupcake paper
3. Beat  softened butter, vanilla essence and white sugar using hand mixer in a large mixing bowl until well combined and fluffy (approx. 3 minutes)
4. Add eggs in one at a time until mixed
5. Add flour and baking powder into the butter/sugar mixture and mix until well combined
6. Add milk, orange zest  and orange juice into the mix until well incorporated.
7. Spoon cupcake mixture evenly, filling it 1/2 of the way up the cupcake liners
8. Pop into the oven for 16 minutes checking with a skewer at the end to see if it's cooked
9. Rest the cakes for at least 15 minutes before decorating
Orange Oreo Buttercream:
1. Beat butter until it changes from a yellow to off-white colour - approximately 7 minutes
Ready to decorate!
2. Add icing sugar continuously mixing until well combined
3. Add vanilla essence, orange juice, crushed Oreos and orange zest until well combined
4. Add orange food colouring until desired shade then it's time to decorate!
                 Note: If you have leftover buttercream frosting, don't worry! You can pop it into the fridge for 3-5 days in an airtight container or up to 3 months in the freezer.


   Nom Nom! I hope you all enjoyed this recipe and re-create it for yourselves before the Orange Oreos go walking out of supermarket doors! Do let me know how they turned out and leave a comment below if you do. Hope you all have a spook-tacular Halloween!

Nibble Away,
              Jo

Related Posts Plugin for WordPress, Blogger...