Showing posts with label Cupcakes. Show all posts

Sunday, 3 May 2015

How To: Chocolate, Peanut Pretzel Cupcakes with Nutella Frosting

Hi Nibblers!

           This cupcake is the ultimate cupcake when you're craving the decadence of chocolate but also want to chill with a bag of potato chips. The salt from the pretzel really breaks down the Nutella frosting and chocolate cake batter and enhances the flavours. You're not left feeling like you're on a sugar high after consuming these cupcakes. I also love how the base not only adds texture but it just gives the classic cupcake a great twist. I made these for my friends a few weeks ago and it garnered some awesome feedback. The only thing is, I couldn't pin down a shorter name for this recipe because there's so many different components I wanted to list! And with Mother's Day just around the corner, these could be your best bet with satisfying all of Mum's cravings. So, headaches over what to name these cupcakes aside, here's the recipe:


What you'll need:
Yields 12-14 medium sized cupcakes
For base:
- 150g roughly crushed pretzels
- 6 Tbs. peanut butter
- 2 Tbs. milk
- 1 tsp. sugar
For middle cake zone:
- 1 cup or 180g self-raising flour (plain flour will work just
remember to add a pinch of salt)
- 2 tsp. of baking powder
- 1/2 cup or 80g of cocoa powder
- 50g butter (softened to room temperature)
- 3/4 cup or 120g of sugar
- 2 eggs
- 1 cup or 250ml of milk
- 3/4 tsp. Vanilla Essence

For Nutella Frosting:
- 250g unsalted butter (softened to room temperature)
- 100g icing sugar (sifted)
- 1 tsp. vanilla essence
- 350g or approx. 1 and 1/2 cup of Nutella

How To:
For base:
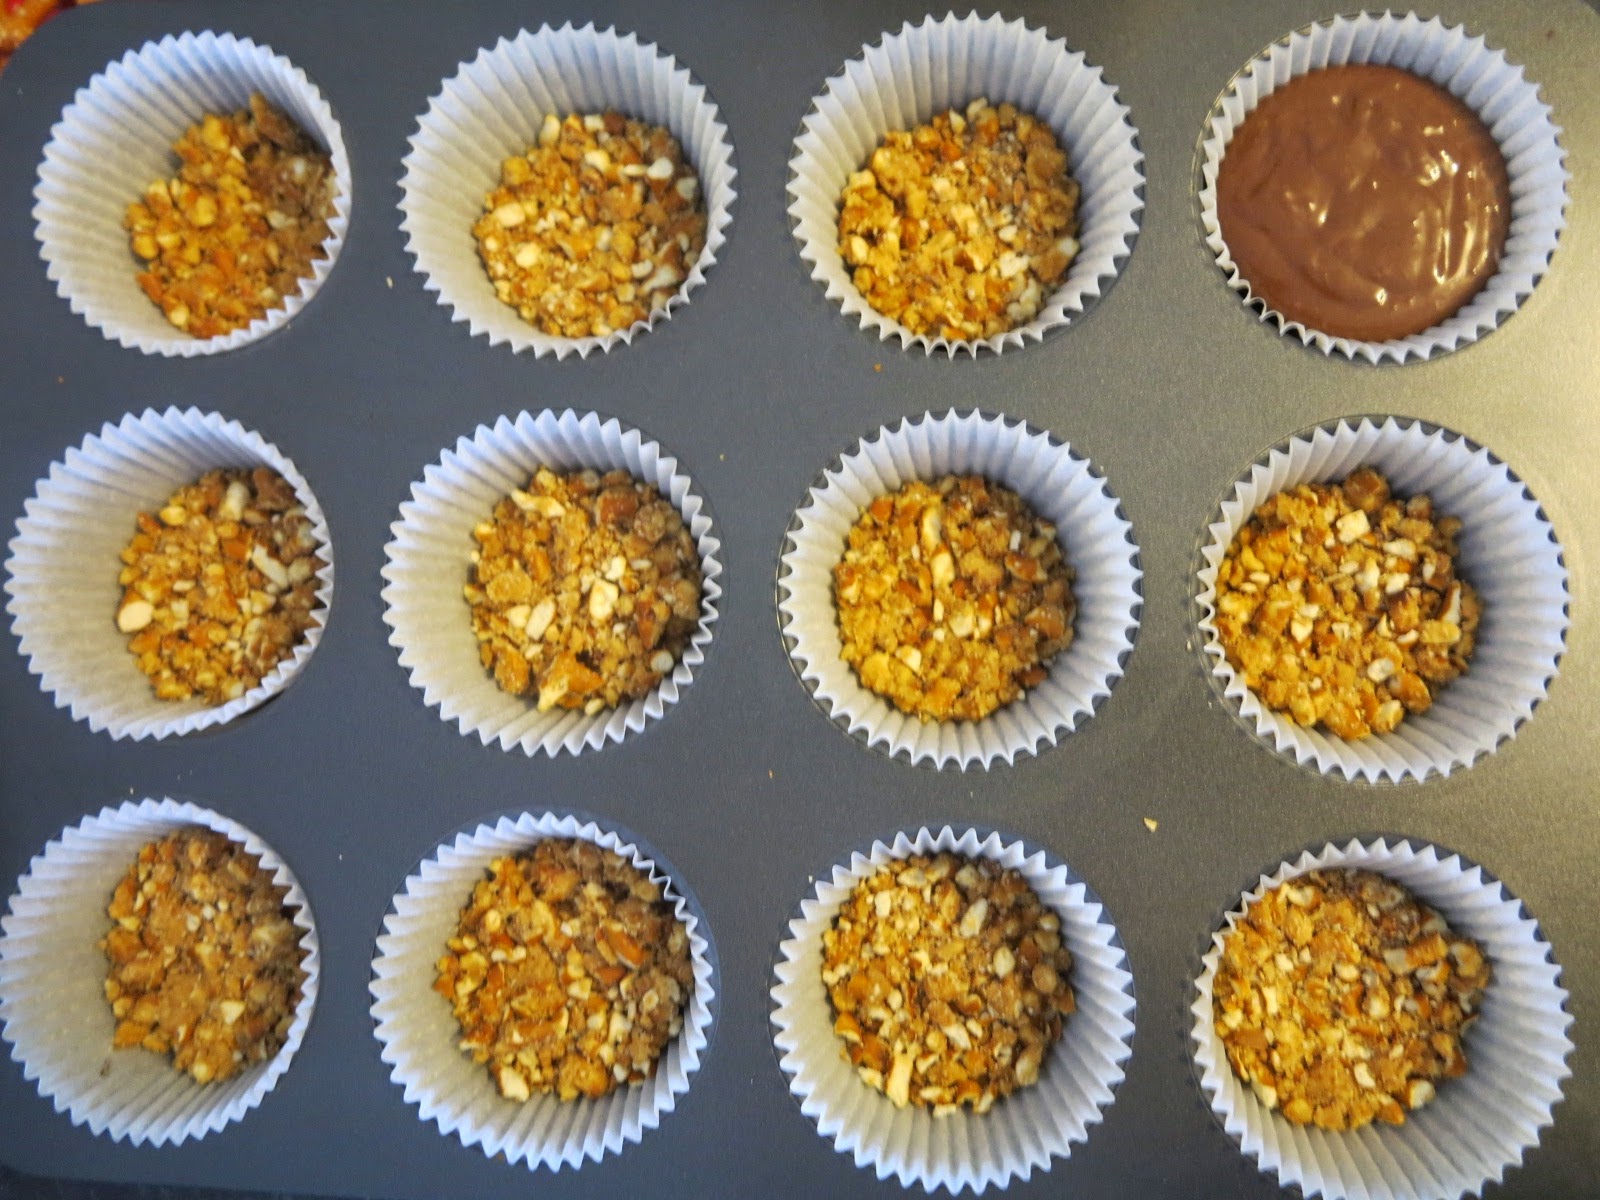
Pretzel base ready to go!
1. Line cupcake tin with patty pan liners the set aside
2. Add milk, sugar and peanut butter in microwave safe bowl and mix
3. Heat in microwave for 30 seconds or in a pot under low heat, stirring constantly until it turns into a smooth paste
4. Combine with crushed pretzels until well coated
5. Add 2 Tbs of pretzel crumb to each patty pan 
6. Firmly press pretzel crumb into the patty pan creating a straight base for your cupcake then set aside
For cake component:
1. Pre-heat oven to 180 degrees Celcius
2. Sift together flour, baking powder and cocoa in a medium mixing bowl then set aside
3. Beat together the softened butter, vanilla essence and white sugar in a large mixing bowl until well combined and fluffy (approx. 3 minutes)
4. Add eggs in one at a time and mix 
5. Add 1/2 of the dry ingredients and 1/2 of the milk into the butter/sugar mixture and mix
6. Repeat step 5 until all ingredients are all combined
7. Add batter into pretzel base patty pan filling it up 3/4 of the pan
8. Pop into the oven for 15 - 18 minutes checking with a skewer at the end to see if it's cooked
        While waiting for cupcakes to cook, start making the Nutella frosting
9. Rest the cupcakes for approx. 30 minutes or until cool before decorating
For Nutella Frosting:
1. Beat butter until butter changes from its original yellow colour to an off white colour (beat on a high speed for at least 5 minutes)
2. Add vanilla essence and milk and beat until well combined
3. Add sifted icing sugar and mix
4. Add Nutella and beat for 5 minutes until well incorporated
           If you want a thicker consistency, add more icing sugar
           For a more softer, smoother frosting, add  Tbs of milk
           If you ever have leftover frosting, pop it into an airtight container and freeze until needed. Can hold up to at least 2 months in the freezer or up to two weeks in the fridge

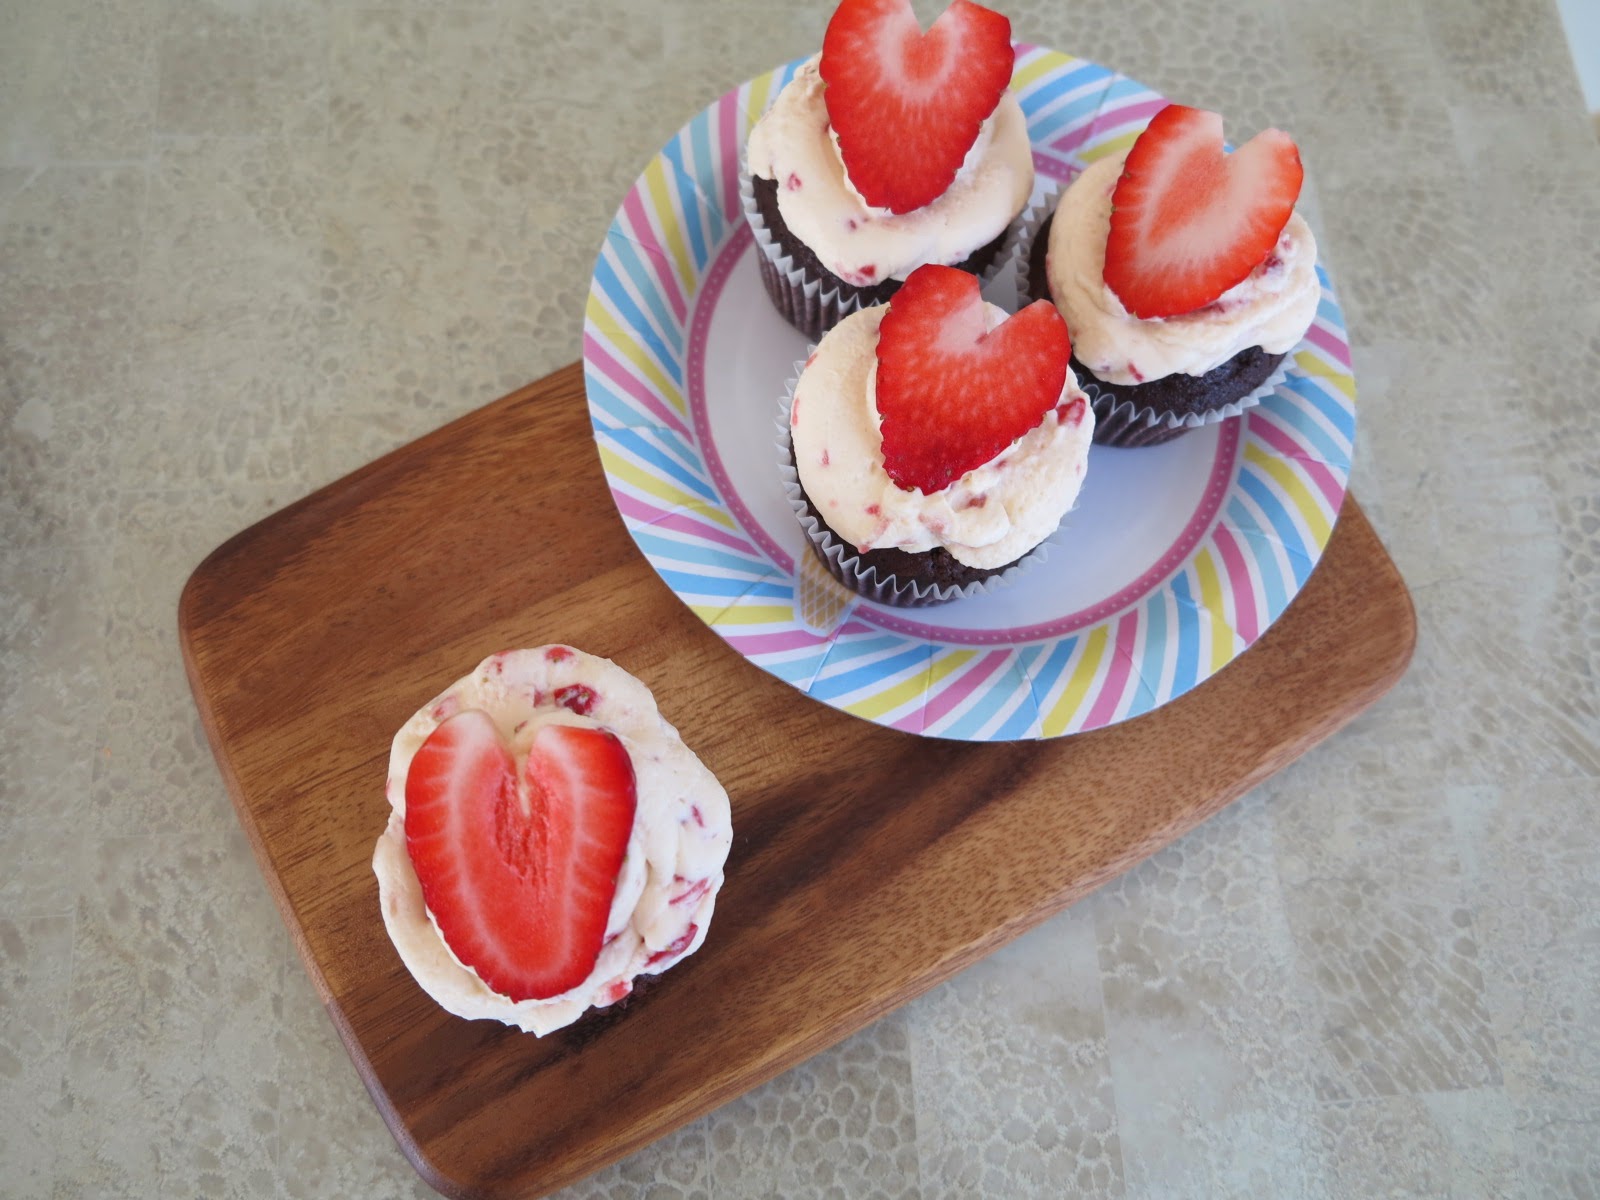
Then it's assemble time! Frost cupcakes as desired and enjoy :)
       Hope you liked this recipe and give it a go! Be sure to leave a comment below if you do give it a try or have any other requests. Hope you all have a lovely week and give your Mumma some extra loving this week to celebrate!

OM NOM NOM

Nibble Away,
           Jo

Saturday, 25 October 2014

How To: Maltesers Cupcakes

Hey Nibblers!


            I've been wanting to put this recipe up for so long! With university nearing its end, time has just been slipping out of my fingers. Three more weeks and I'll have to start fending for myself in the real world!
            This has been my go-to recipe lately. It's easy and doesn't require any sort piping skill. I'm also loving the feedback that they're receiving from my family and friends. Even Kevin who isn't keen on sweets, gives it the tick of approval. So with the festive season coming up, this just might be the recipe for you.

Maltesers Cupcakes
Yields 12-14 medium cupcakes


What you will need: Cupcake base
- 1 cup or 180g self-raising flour (plain flour will work just add a pinch of salt)
- 2 tsp. of baking powder
- 1/2 cup or 80g of cocoa powder
- 50g butter (softened to room temperature)
- 3/4 cup or 150g of sugar
- 2 eggs
- 1 cup or 250ml of milk
- 3/4 tsp.  of vanilla essence
Maltesers Buttercream:
- 400g Maltesers Chocolate (For decoration/buttercream purposes oh and for snacking in between!)
- 250g of unsalted butter (softened to room temperature)
- 100g icing sugar (sifted)
- 2 Tbs. of milk
- 2 tsp. of vanilla essence 

How To: Cupcake Base
Malteser Cupcake base - Surprise crunch!
1. Pre-heat oven to 180 degrees Celcius or 360 degrees Farenheit (fan-forced preferably)

2. Line tin with cupcake patty pans
3. Sift together flour, baking powder and cocoa in a medium mixing bowl then set aside
4. Beat together the softened butter and white sugar in a large mixing bowl until well combined and fluffy (approx. 3 minutes)
5. Add eggs in one at a time and mix into butter/sugar component 
6. Add vanilla essence to wet ingredients and mix
7. Add 1/2 of the dry ingredients and 1/2 of the milk into the wet mixture and mix
8. Repeat step 7 until all ingredients are all combined
9. Spoon about 3 Tbs. of the cupcake mixture evenly into each of the lined patty pans about 1/2 - 3/4 way up
10. Add  3 x Maltesers into each patty pan 
11. Pop into the oven for about 15-18 minutes checking with a skewer at the end to see if it's cooked (depending on your oven - I checked mine at 15 minutes and they were cooked)
12. Rest the cupcakes for 15-20 minutes before popping the Maltesers cream on


How To: Maltesers Buttercream
Crushed Maltesers 
1. Crush about 200g of the Maltesers Chocolates into chunky pieces then set aside (I used a bowl and pestle but, a food processor or using a knife and cutting the chocolates into rough 1/4 pieces would work)
2. Beat softened butter on high for 5-7 minutes until the yellow butter turns to a creamy - off white colour
3. Add and mix milk and vanilla essence until well combined
4. Add sifted icing sugar and beat for 5 minutes until well incorporated

5. Mix crushed Maltesers into the buttercream
6. Spread the Maltesers cream onto cupcakes (I just used a butter knife and spread about 1-2 Tbs. on each cupcake)
7. Pop 1 x Malteser onto the centre of each cupcake and nibble away!

           Let me know if you give this lovely recipe a go. I'm always on Instagram so if you ever wanted to share a recipe or picture just tag me @nibblejo_x. These cupcakes are great for their simplicity and the crunchy Maltesers cream with the moist chocolate cupcake base is heaven. Hope you enjoyed this post!


Nibble Away,
          Jo

Sunday, 24 August 2014

How To: Strawberries and Cream Cupcakes

Hi Nibblers!

         Spring is only a week away for those of us in the southern hemisphere. To welcome the months of hay fever, flowers and sunshine I decided to whip up a batch of 'Strawberries and Cream' cupcakes! These cupcakes are extremely easy to make and will not only look great on a plate, each one cupcakes comes with a special surprise. To top that all off, strawberries are selling at great prices in Sydney right now which makes it the perfect time to test these babies out.

How to: Strawberries & Cream Cupcakes


Yields 12-14 medium cupcakes

What you'll need:
Cupcake component
- 1 cup or 180g self-raising flour (plain flour will work just
remember to add a pinch of salt)
- 2 tsp. of baking powder
- 1/2 cup or 80g of cocoa powder
- 50g butter (softened to room temperature)
- 3/4 cup or 150g of sugar
- 2 eggs
- 1 cup or 250ml of milk
- 3/4 tsp. Vanilla Essence
- 12 Lindt strawberries and cream truffle balls
- 6 strawberries roughly sliced

Strawberry cream frosting component
- 4-5 strawberries roughly diced
- 300ml of thickened cream (or whipping cream)
- 3 Tbs. of sugar
- 1 tsp. of vanilla essence

How To: Cupcake
1. Pre-heat oven to 180 degrees Celcius
2. Line tin with cupcake patty pans
3. Sift together flour, baking powder and cocoa in a medium mixing bowl then set aside
4. Beat together the softened butter, vanilla essence and white sugar in a large mixing bowl until well combined and fluffy (approx. 3 minutes)
5. Add eggs in one at a time and mix 
Strawberry & Chocolate batter
6. Add 1/2 of the dry ingredients and 1/2 of the milk into the butter/sugar mixture and mix
7. Repeat step 6 until all ingredients are all combined
8. Add sliced strawberries and gently mix until well incorporated
9. Spoon about 2 Tbs. of the cupcake mixture evenly into each of the lined patty pans
10. Add  Lindt truffle into the centre of each patty pan
11. Add a further 2-3 Tbs. of batter into patty pans or until it fills up to the 3/4 mark
12. Pop into the oven for 18 minutes checking with a skewer at the end to see if it's cooked
13. Rest the cupcakes for 15-20 minutes

How To: Strawberry cream frosting
1. Pre-chill your mixing bowl and cream in the fridge to minimise the chance of your cream splitting
2. Beat cream, sugar and vanilla essence until soft peaks form (about 4 minutes using a hand/ stand mixer)
3. Add diced strawberries and continue mixing until desired texture (about 2 minutes). I like the frosting to be quite stiff because it holds more shape when piped onto the cupcakes
4. Decorate your cupcakes

       I made the mistake of pushing my Lindt truffles to the bottom of the patty pan so most of the cupcakes didn't have the oozy effect when cross-sectioned. However, they tasted delightful and thoroughly enjoyed.

Don't push those truffles to the bottom!
Truffle sunk and burst itself at the bottom of the patty pan

Batman
     

       I would also love to thank Kevin for making my baking adventures much more enjoyable by spoiling me with Batman, my new KitchenAid stand mixer! I'm so excited to use it and can't wait to share more recipes with you.
     
        Hope you enjoyed this post and leave a comment if you gave this a try.


Nibble Away,
         
            Jo
Related Posts Plugin for WordPress, Blogger...