Thursday 24 December 2015

How To: Christmas Tree Profiteroles

Hi Nibblers!

     I love the Christmas season. It's my favourite time of year but it goes by in a blink of an eye. It's always buzzing and Christmas movies are always so heart warming. It eases all the stresses of everyday life even if it's just for a moment. I do have to admit, Sydney's Christmas are a tad too hot for my liking but it does mean I'm able to enjoy lovely potato salads and seafood all day. It also means being able to enjoy those cold desserts and not suffering from frost bitten fingers afterwards!
      The inspiration for this recipe stemmed from my love for profiteroles and Christmas! Back before I was into baking my own sweet treats, Kevin used to rush off to the local supermarket and buy me a box of custard filled profiteroles. It was always one of the best surprises back in high school. To this day, I still have such fond memories of those occasions so I decided to honour that memory with a recipe.

How To: Christmas Tree Profiteroles
Makes approx. 40 medium sized profiteroles

What you'll need:
For choux pastry
- 250mL water
- 100g unsalted butter (diced)
- 1 pinch of salt
- 125g all purpose flour
- 4 eggs
For filling / decorating
- 600mL thickened cream - setting aside 1/2 cup for ganache
- 4 Tbs. sugar
- 1/2 cup white chocolate chip buttons
- 1/2 tsp. Pandan paste OR 2 drops green food colouring (for colour purposes)
- Sprinkles to decorate (whatever you fancy)

How To:
The Choux Pastry
1. Pre-heat oven to 210 degrees Celcius or 410 degrees Farenheit
2. Place cold water and unsalted butter into a saucepan and mix until a gentle simmer
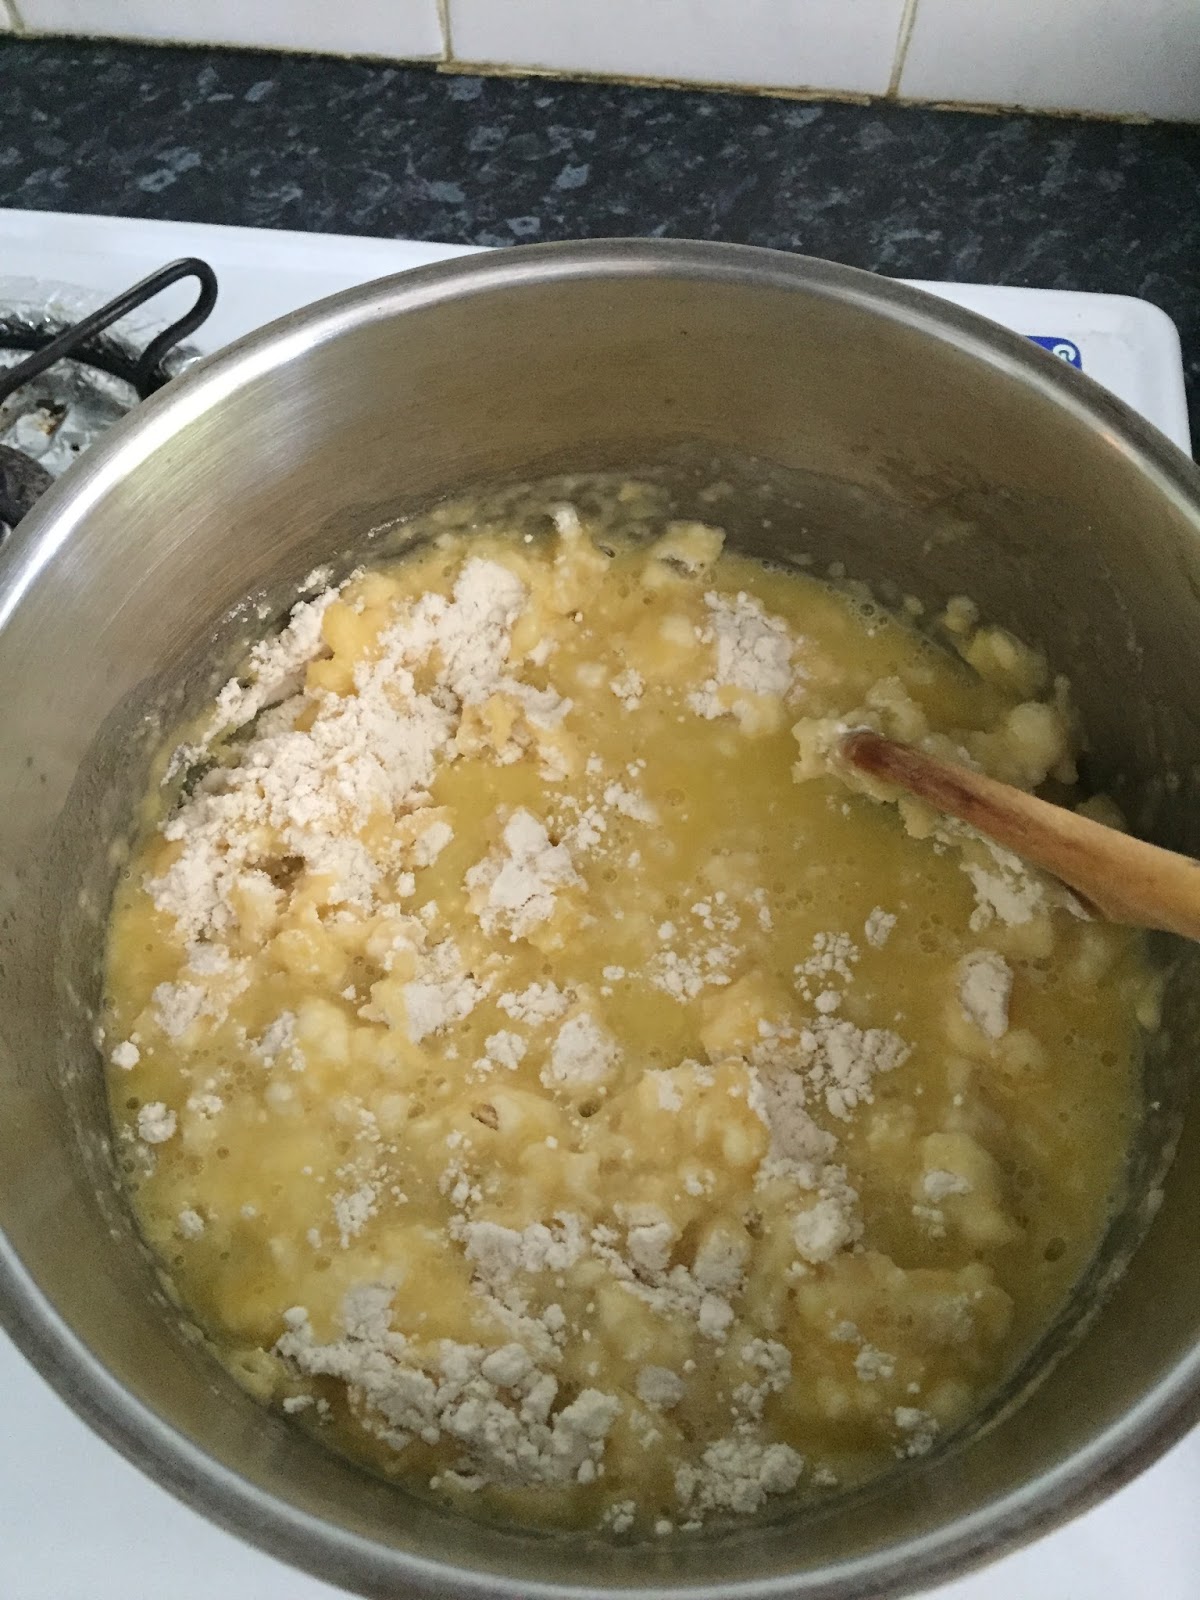
2. Add salt and flour and beat until it forms a paste / smooth dough that comes away from the sides of the pan
3. Remove pan from heat and beat egg one at a time and mix well - this takes a bit of arm power and patience - don't add all eggs at once
4. Pop choux pastry into a piping bag and squeeze into equal rounds on a baking sheet tray - approximately 3cm in diameter
5. Use a damp finger to push down on any spikes to ensure those spikes don't burn on the oven
6. Pop choux pastry in the oven for at least 15 minutes or until puffed and golden then set aside on cooling rack to cool
The Filling
1. While profiteroles are cooling, whip thickened cream with sugar until stiff peaks form then set aside in fridge until needed
The Coating

1. Place 1/2 cup of thickened cream and white chocolate buttons into a microwave save bowl and microwave at 1 minute intervals (stirring in between) until ganache forms a smooth velvety past - Takes about 3 minutes

2. Add pandan paste or food colouring to ganache and mix until well incorporated then set aside until needed
Assemble!
1. Poke a hole in each of the profiteroles bottoms and pipe whipped cream into the centre - stopping when you feel some resistance
2. Dip the filled profiteroles into ganache then set aside to set

3. Once all profiteroles are filled, assemble a circular base for the tree and work upwards to form a christmas tree and voila! Christmas centre piece made easy - I added my own self-drawn star to add height but you can do whatever you please.
4. Add some sprinkles and you're set!


        I hope you all have a Merry Christmas! I do have to apologise from the lack of posts this Christmas but the truth is, it hasn't been the best end to the year. A few things have come up that I have no control over which has taken all my free time that I would otherwise dedicate to this blog. But, enough of the pity party - Christmas is still exciting and if you Nibblers do try out this recipe, let me know how it goes in the comment below!


Nibble Away,
           Jo

Sunday 6 December 2015

How To: Lindt Lindor Peppermint Stuffed Red Velvet Cookies

Hi Nibblers!

        It's December! When I hear people say how quickly the year goes by, I didn't feel it much. But ever since leaving uni and working full-time, the year goes by at lightning speed. The festive season is definitely more stressful in adulthood because I can't seem to find a time where shops are open when I'm off work. Luckily, I had a few hours on hand and headed to the shops to window shop for present ideas. I stumbled upon 'Lindt Lindor Peppermint - Christmas Edition' truffles. I had been wanting to do a mint related recipe for a while but couldn't find the oomph I was looking for until now. I quickly popped back home and started baking. Keep reading ahead to find out how!

How To: Lindt Lindor Peppermint Stuffed Red Velvet Cookies
Makes: Approximately 20 cookies 


What you'll need:
- 250g unsalted butter (softened to room temperature)
- 400g plain flour - all purpose
- 4 tsp. vanilla essence
- 40g cocoa
- 2 tsp. baking soda
- 2 Tbs. milk
- 2 eggs
- 2 tsp. red food colouring
- 180g brown sugar
- 1/2 cup white chocolate chips
- 250g of Lindt Lindor Peppermint
Optional: For decoration
- Handful green sprinkles
- 3 large candy canes - roughly chopped

How To:
1. Beat butter until smooth and creamy
2. Add white and brown sugar and beat until well incorporated
3. Add vanilla, eggs, milk and red food colouring
4. Mix in baking soda, flour and cocoa
5. Add choc chips and stir until mixed
6. Pop cookie dough into the fridge for at least an 1/2 hour
        Note:  This step is essential if you want soft,  pillowy, risen cookies. It allows the cookie dough more pliable and less sticky

7. Pre-heat oven to 180 degrees Celcius or 350 degrees Farenheit
8. Remove all Lindt Lindor Peppermints from their wrappers then set aside
9. Roll a heaped Tbs. of cookie dough into a ball before flattening it out in the palm of your hand to form a pancake shape then place Lindor in the centre dough before covering the whole Lindor truffle with cookie batter
10. Place onto lined baking tray about 5cm apart from one another
11. Pop into the oven for 11-12 minutes
11. Take cookies out of the oven then lightly press down on each cookie 
12. Decorate cookies with sprinkles and crushed candy canes 
13. Allow cookies to cool on baking tray for 5 minutes before transferring to cooling rack then devour!
        Note:  Store cookies in an airtight container for up to 7 days. Cookie dough and cookies can be frozen for up to 2 months and thawed (for eating) or baked frozen (but need an extra 2 minutes in the oven)


          This recipe is definitely for those choc mint lovers out there. The cookies are crunchy on the inside and chewy soft in the centre. The crushed candy canes are a surprise crunch which I really like. These are so easy to make and taste great even without the Lindor centres. Leave a comment below if you give this a try :)


Nibble Away,
         
               Jo
Related Posts Plugin for WordPress, Blogger...