
Happy New Year Nibblers! I'm a little late on the celebratory new year post but I've just been out and about. There have been many recipes that I've written to do in 2015 that have yet to be made and my mind is racing with new innovative recipes for 2016. As per my resolutions for 2015, I do strive to continue on with pushing out recipes in 2016. Going back to recipes inspired from my own Vietnamese background and also exploring new avenues in the foodie world will be the key themes I hope to achieve this year. In addition to this, I hope to build more on Nibble Nation and improve my style, photography and taking on new creative routes.
Bánh da lợn is one of my all time favourite Vietnamese desserts. My Mum used to make it on a
pretty frequent basis when I was younger but has since moved on to other food ventures. It was only a
few weeks ago that I was roaming the dessert section in my local Asian supermarket that I saw a whole
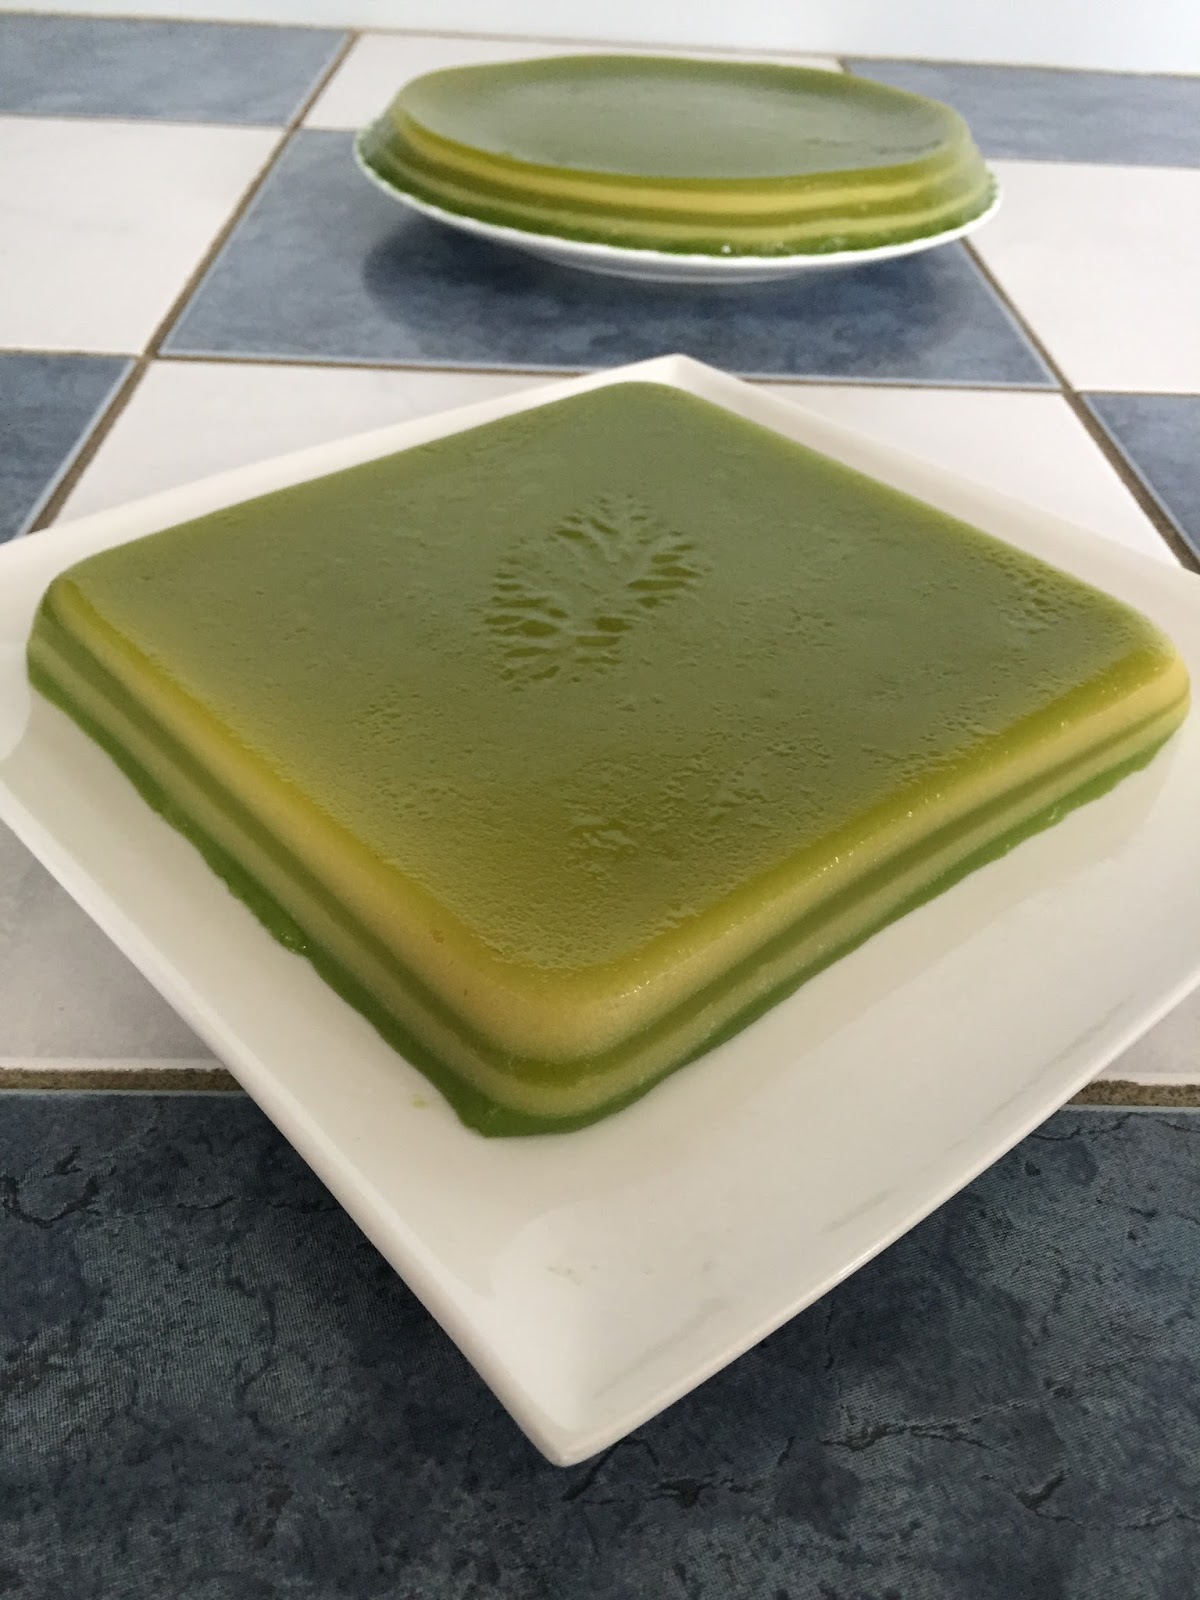
tray of these bánh da lợn sitting there staring at me. It re-ignited something inside of me. I just had to have it. I asked Mum if we should just buy some to satisfy those cravings. But when Mum looked at the prices, she said we could make four large cakes with the cost so we set off to buy ingredients instead. So here we are, recipe time! And after the whole experience, I don't think I'll ever buy bánh da lợn in the shops again. So simple to make and delicious!
How To: Bánh Da Lợn (Vietnamese Steamed Layer Pandan/ Mung Bean Cake)
 |
| Steamed mung beans |
For pandan level -
- 400g sugar
- 500g tapioca starch
- 1L of water
- 400mL coconut milk
- Approx. 200g or 6-8 pandan leaves (found at most Asian stores)
Can be replaced with 3 Tbs. pandan extract however flavour may not be as intense
- 2 drops of pandan extract (mostly for colour purposes)
For mung bean level -
 |
| Pandan mixture - unmixed |
- 375 tapoca starch
- 1 tsp. vanilla extract
- 260g sugar
- 1050 mL of water
How To:
Mung Bean component
1. Place drained mung beans on a cloth in a steamer for approximately 15 minutes or until soft. Remove from cloth and set aside
2. Mix tapioca starch, sugar, vanilla extract and water in a mixing bowl and combine until you can no longer feel granules at the bottom of bowl then set aside
3. Pop steamed mung beans into blender in about four batches and blend until smooth - if your blender needs liquid to pulsate, use as much of the tapioca/sugar/water/vanilla mixture as needed
 |
| Mung Bean layer |
Pandan component
1. Blend pandan leaves with 200mL of water
 |
| Blitzed pandan juice |
3. Picking up just the cloth with pandan leaves squeeze as much excess water into measuring jug
4. Take note of the amount of mLs in measuring jug as this adds into the whole 1L water limit
5. Mix pandan extract, pandan juice, tapioca starch, sugar and coconut milk in a large mixing bowl
6. Measure remaining fluid to make 1L of water and pour into the rest of the ingredients then stir until well combined
Assemble! (Mung bean layer should also be sandwiched in between pandan layers)
1. Lightly spray 4 x 20cm cake tins with oil (If you don't have tins, you'll be able to reuse tins given the cakes have had time to cool before being flipped onto plate)
2. Bring water in your steamer pot boil then place cake tin in centre of steamer
3. Stir pandan layer then once ready, spoon in about 3/4 cup of the mixture into cake tin in the steamer - be careful as it can get very hot! - OR to make things easier, mix pandan layer then transfer 200-250mL into a measuring jug before pouring into cake tin - heaps keeps layers even
4. Pop lid onto steamer and leave for 3 minutes or until layer is just about cooked - mixture should not coat back of a spoon. If it does, leave for another 1 minute, you don't want it raw as layers will combine but not too cooked as layers will seperate
 |
| The set up! |
6. Repeat steps 3-5 until cake tin is filled and always leave the last pandan layer in steamer for 5 minutes instead of the usual 3 as this acts as your base of cake
7. Continue with steps until all mixtures are used up!
8. Leave cakes to cool for about 10 minutes before pressing the sides to dislodge from cake tin. Once all sides have been dislodged, carefully flip cake onto plate before serving!
 |
| Just after steaming! |
I hope you enjoyed this recipe! It sounds a bit hectic with all the components involved but once you do the first cake, it's simple to get the hang of things. It's okay if it doesn't work out the first time, the layers on their own taste great! This recipe is so versatile in terms of cake sizes as you can use whatever tin you like, just adjust the amount of mung bean/ pandan mixture you add so that the layers are even. If you do have any leftover cake, simply pop into the freezer for several weeks then thaw when ready OR pop into the fridge to last for up to a week then re-heat in microwave for about 40 seconds before consumption. Make sure to leave a comment below if you try this out.
Nibble Away,
Jo
No comments:
Post a Comment